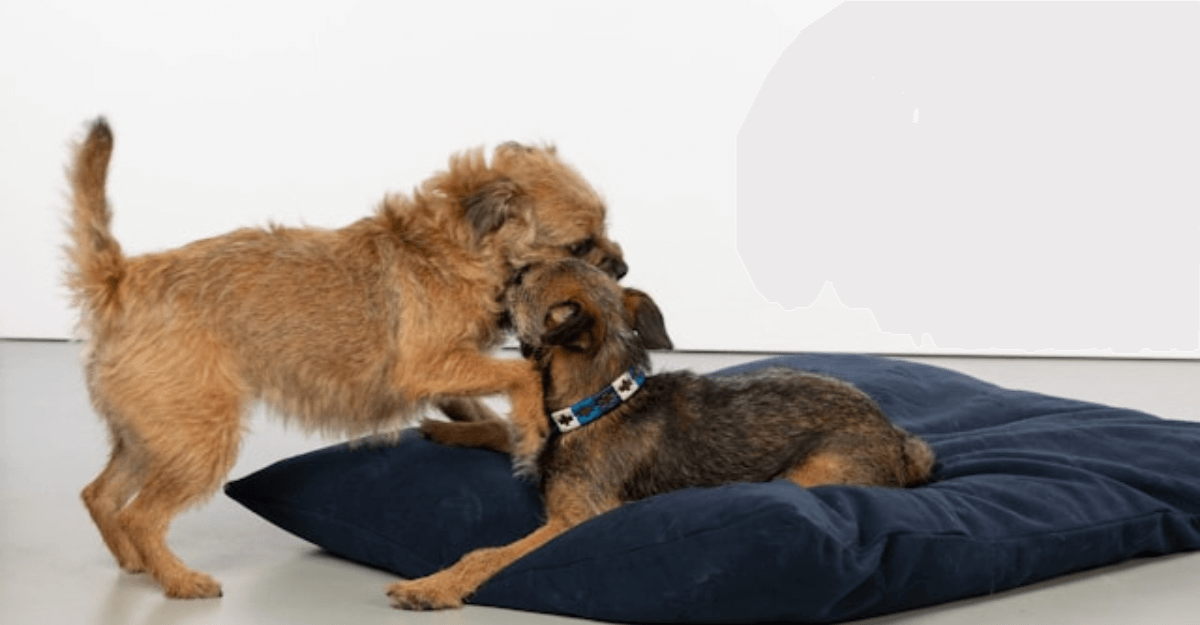
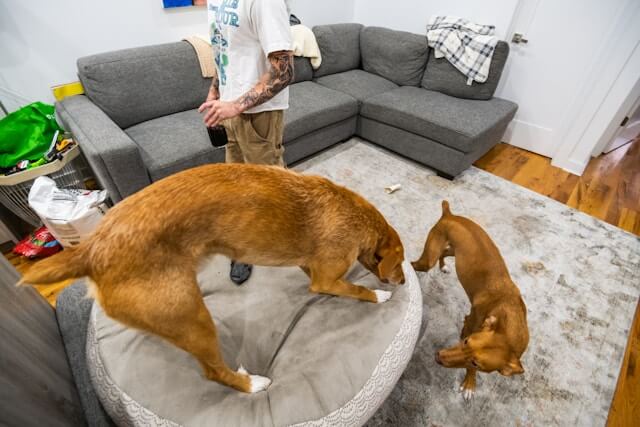
Creating a cozy place for your furry friend to sleep doesn’t have to be expensive or complicated. Making a DIY dog bed allows you to craft a space that’s perfect for your dog’s needs, matches your home’s style, and saves money. Not only is it a budget-friendly alternative to store-bought beds, but it also gives you the opportunity to infuse your personality into the design. DIY dog beds can be made using recycled or repurposed materials, helping to reduce waste and promote sustainability. With a few basic tools, some fabric, and a creative mindset, you can build a dog bed that’s unique, comfortable, and tailored just for your canine companion. Whether your dog needs a plush, pillowy surface or a firmer, supportive mattress, this project can be customized to accommodate any preference.
By following this comprehensive guide, you’ll be empowered to make a bed that your dog will love, while also giving yourself the satisfaction of completing a hands-on, personal project. Dive into these easy steps and watch as your pet finds their new favorite spot in no time.
1. Benefits of Making Your Own Dog Bed
When you make a dog bed at home, you enjoy several key benefits:
- Customization: Unlike store-bought beds, making one yourself means you can choose materials that complement your home decor. You can select colors, patterns, and even customize the shape and size to perfectly fit your space.
- Cost Savings: High-quality dog beds can be pricey. By sourcing your materials smartly, you can create a durable bed for a fraction of the cost.
- Sustainability: DIY projects allow you to use upcycled materials like old blankets, sweaters, or fabric remnants, reducing waste and promoting eco-friendliness.
- Comfort: You know your dog best. Some dogs love soft, plush surfaces, while others need firm support. By choosing the type of padding, you can cater to your pet’s comfort preferences and health needs.
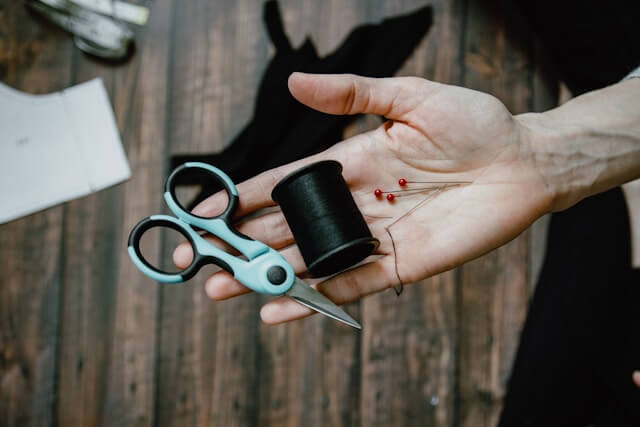
2. Essential Materials and Tools
Before you start, make sure you have the following:
-
Materials:
- Fabric: Choose a durable and washable material. Cotton, fleece, and waterproof fabric are popular choices.
- Stuffing: Depending on your dog’s size and preferences, you can use polyester fiberfill, memory foam, or old pillows.
- Zippers or Velcro: To make the cover removable for easy washing.
-
Tools:
- Sewing machine or needle and thread: If sewing isn’t your forte, fabric glue can be a substitute.
- Scissors: Sharp scissors for clean cuts.
- Measuring tape: Essential for accurate measurements.
Pro Tip: Gather a few optional embellishments like fabric paint, stencils, or fabric patches for personalization.
3. Choosing the Right Design for Your Dog
Consider your dog’s sleeping habits when selecting a bed design:
- Simple Cushion Bed: Best for dogs that enjoy sprawling. It’s straightforward to make and can be adjusted to any size.
- Bolster Bed: Perfect for dogs that love resting their heads on something supportive. Adding bolsters requires a bit more sewing but provides an added layer of comfort.
- Elevated Dog Bed: Ideal for warm climates, this bed allows air to circulate underneath, keeping your dog cool.
- Orthopedic Bed: Older dogs or those with joint issues benefit from memory foam or a dense cushion that provides extra support.
4. Step-by-Step Guide to Making a Simple DIY Dog Bed
Here’s how to create a simple cushion bed:
Step 1: Measure Your Dog
- Method: Have your dog lie down naturally and measure from head to tail. Add at least 5 inches to ensure comfort.
- Tip: If your dog sleeps curled up, measure their length in that position and add a few extra inches for space.
Step 2: Cut Your Fabric
- Instructions: Cut two identical pieces of fabric based on your measurements, adding 2 inches on all sides for seam allowance.
- Optional: For a thicker bed, cut additional pieces for layering.
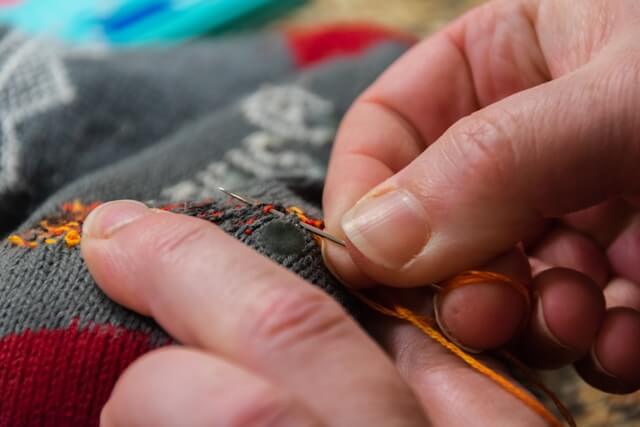
Step 3: Sew the Bed
- Method: Place the fabric pieces right side facing each other. Sew three sides together, leaving one side open.
- No-Sew Alternative: Use fabric glue along the edges and let it dry according to the glue’s instructions.
Step 4: Add Stuffing
- Instructions: Turn the fabric right side out and fill with your chosen stuffing. Distribute it evenly to avoid lumps.
- Tip: Use a mix of polyester fiberfill and foam scraps for a balance of softness and support.
Step 5: Finish the Bed
- Method: Sew or glue the final open side shut, or add Velcro or a zipper if you want a removable cover.
- Decoration Ideas: Stitch on patches or use fabric paint to personalize the bed with your dog’s name.
5. Alternative No-Sew Dog Bed Option
Not into sewing? Try this easy no-sew dog bed:
Using Fabric Glue:
- Follow the same cutting and stuffing steps as above.
- Instead of sewing, use fabric glue to seal the edges, ensuring to press firmly and allow adequate drying time.
Old Clothes Upcycle:
- Instructions: Use an old sweatshirt as the main body. Stuff the torso and sleeves with stuffing. Sew or glue the openings, and tie the sleeves together to create a bolster around the main bed area.
- Benefit: This method is great for smaller dogs and has a nostalgic touch, especially if you use clothing that smells like you for added comfort.
6. Maintenance and Care Tips
Keep your DIY dog bed in top shape with these tips:
- Washing Instructions: If you made a removable cover, wash it regularly using pet-safe detergent. For non-removable covers, spot clean as needed.
- Durability Tips: Double-stitch or reinforce seams to withstand wear and tear, especially if your dog tends to dig or chew on their bed.
7. Final Touches and Customization Ideas
Make your dog bed truly unique with these ideas:
- Add Personalization: Use non-toxic fabric paint or iron-on patches to add your dog’s name or fun designs.
- Waterproof Liner: Add a waterproof liner underneath the fabric to prevent stains and make the bed last longer.
- Mixed Textures: Dogs often love different textures, so consider adding a layer of faux fur or soft flannel for added coziness.
Making a DIY dog bed is not just an enjoyable project; it’s an opportunity to show your furry friend how much they mean to you. The process is simple, cost-effective, and can be tailored to any dog’s specific needs and preferences. From choosing the perfect fabric to deciding on the most comfortable type of filling, every step you take adds to your dog’s comfort and happiness. Plus, you’ll have the joy of knowing that the bed your pet rests on was made with love and care.
Remember, maintaining the bed with regular cleaning and reinforcing seams can extend its lifespan, ensuring your hard work lasts for years to come. Customizing your dog’s bed with fun designs or their name adds that extra special touch that sets it apart from standard store-bought options. So go ahead and get creative – your pet will appreciate the cozy space you’ve made just for them. Whether it’s for a rambunctious puppy or a loyal senior, the perfect DIY dog bed will quickly become their favorite place to unwind, snuggle, and snooze.