Halloween decorations can be the ideal way to add a spooky atmosphere to your home. Making your own homemade Halloween decorations gives you the freedom to be creative about what designs and styles you choose.
What’s more, it’s usually quite easy to come up with some great DIY projects that are really cost effective.
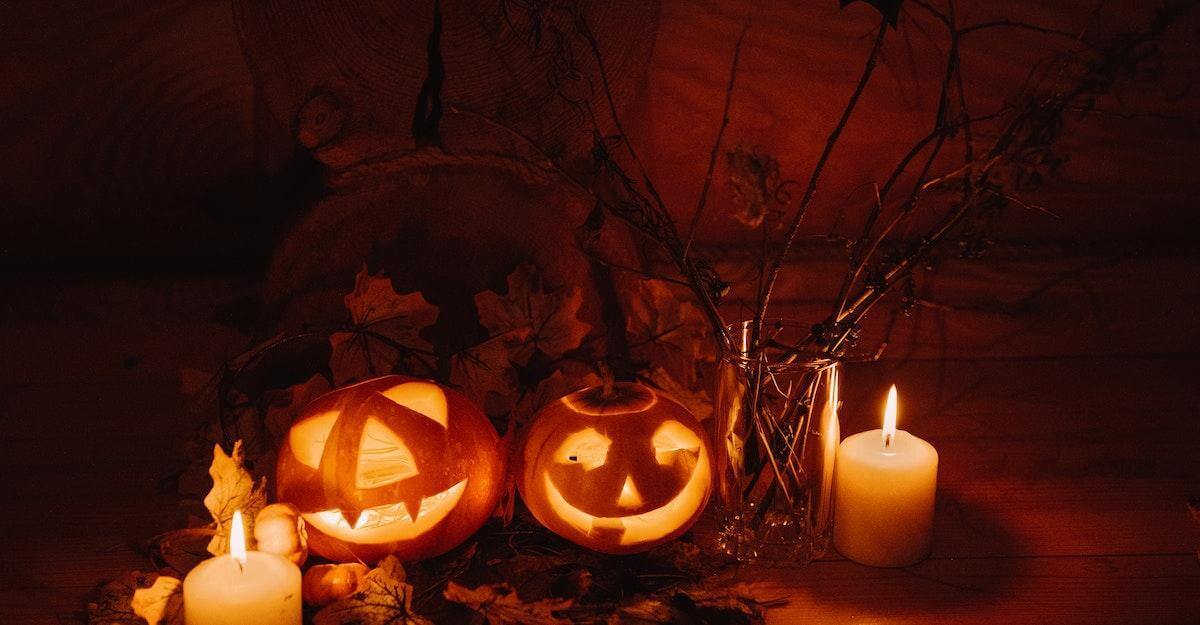
Creating spooky luminaries from plastic bottles lets you light up the front porch with an eerie candle glow or to adorn the table at a Halloween party. They’re really easy to make and you can let your creativity determine how you want your luminaries to look.
Here’s what you’ll need:
- Clean, empty plastic soda bottles
- Craft spray paint designed for plastic
- Contact adhesive paper
- Scissors or a craft knife
- Candles
- Sand
Before you begin, spread some newspaper over your work surface.
Remove the label from the soda bottles and rinse them in soapy water. Dry the bottles with a paper towel.
Carefully cut the top off the plastic bottle using scissors or a sharp knife. You might also want to cut a hole in the side of the bottle so you can insert a candle more easily.
Draw your design on the contact adhesive paper. You might choose a spooky pumpkin face or a spider’s web or a black cat silhouette. The choice is yours.
Cut the design out and stick the pieces to the bottle.
You will need to use craft paint that is designed to stick to plastic for this next step. It’s up to you whether you want to paint your luminaries bright pumpkin orange or any other color.
Spray the bottles carefully and leave them to dry for a few hours.
Once the paint is completely dry you can peel off the contact paper designs to reveal the clear plastic beneath.
Pour a little sand into the bottom of the bottle to help keep it balanced and to help keep the candle in place. Embed a candle in the sand.
Remember to leave your painted luminaries for approximately 24 hours before lighting the candle. This will help to ensure the paint has cured properly.
Place your luminaries on a table or out on the porch and light the candle!